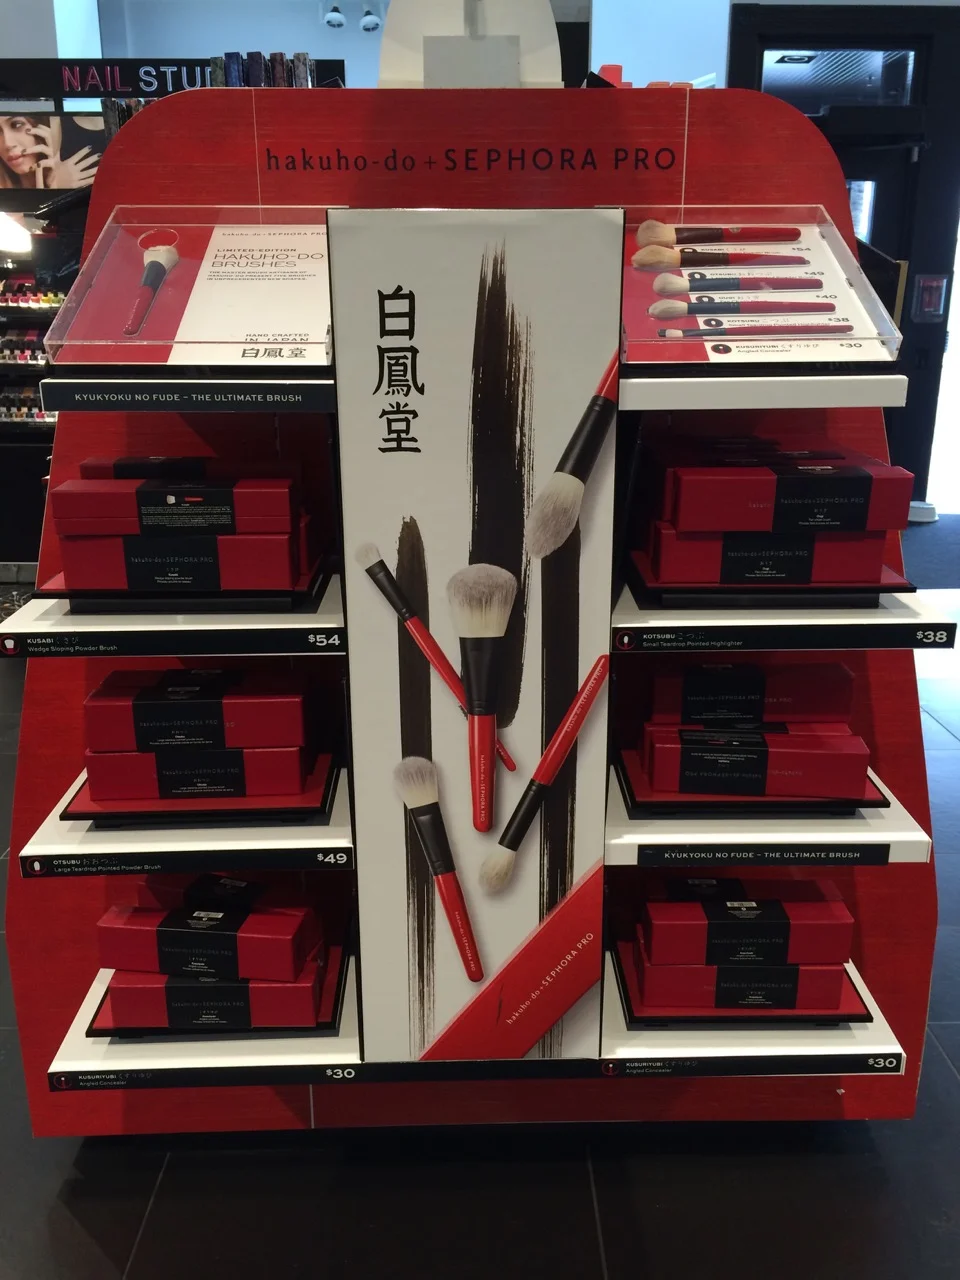
試用心得/日本白鳳堂X美國Sephora Pro聯名刷具

距離上次發文已經快一個月,這一個月當中因為搬家所以是相當之忙碌...一個月前去產檢的時候跟醫生說我覺得最近比較情緒化,醫生回答:妳是孕婦啊,這樣很正常!但我之前都沒有那樣所以我又跟醫生說或許是因為最近在搬家所以事情很多導致心情容易上上下下?結果醫生看著我面帶微笑說:這時候搬家是覺得壓力不夠大嗎?(Not enough stess huh?),覺得我的醫生好幽默XD

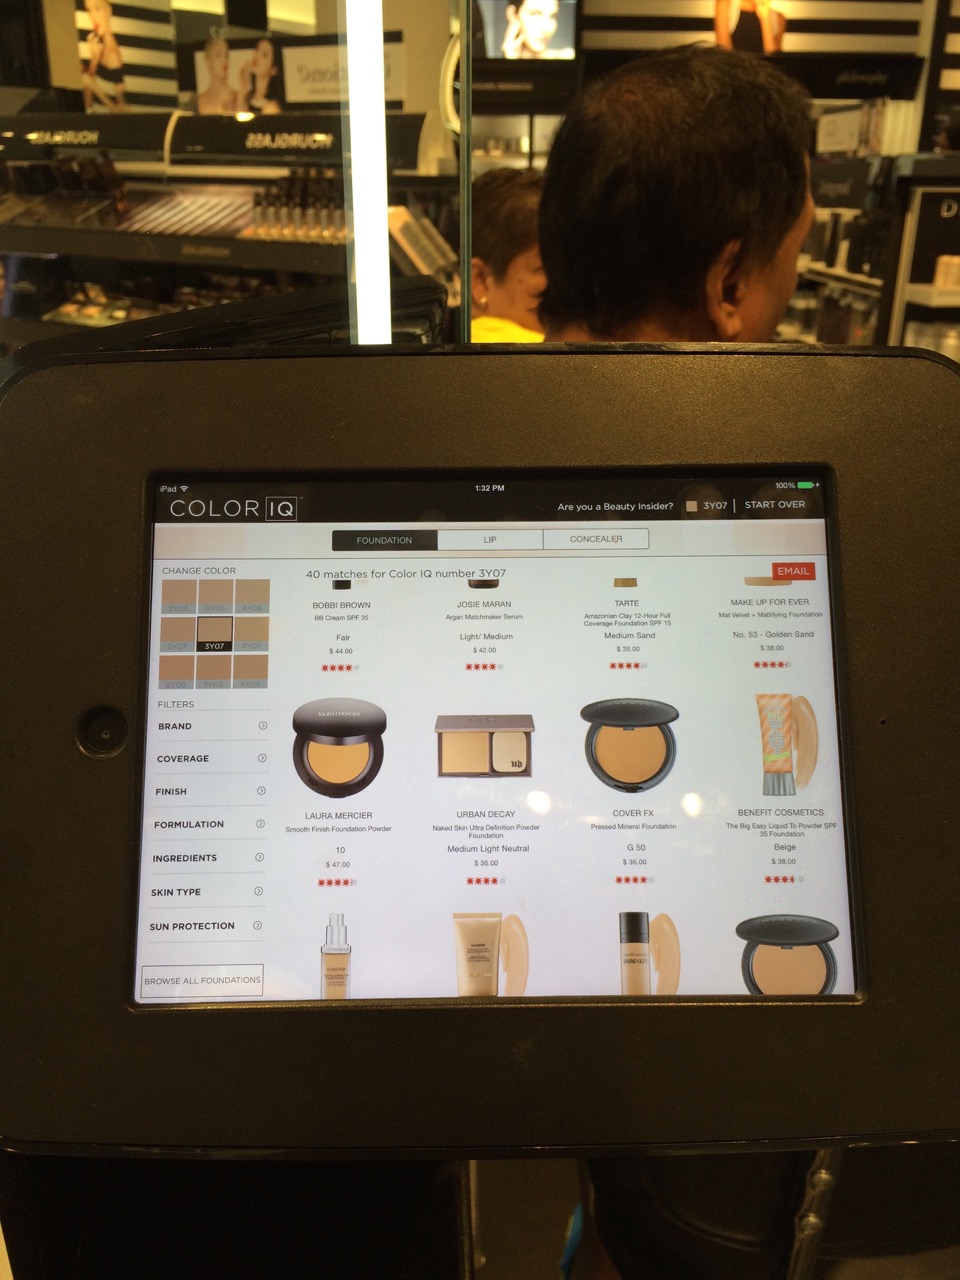
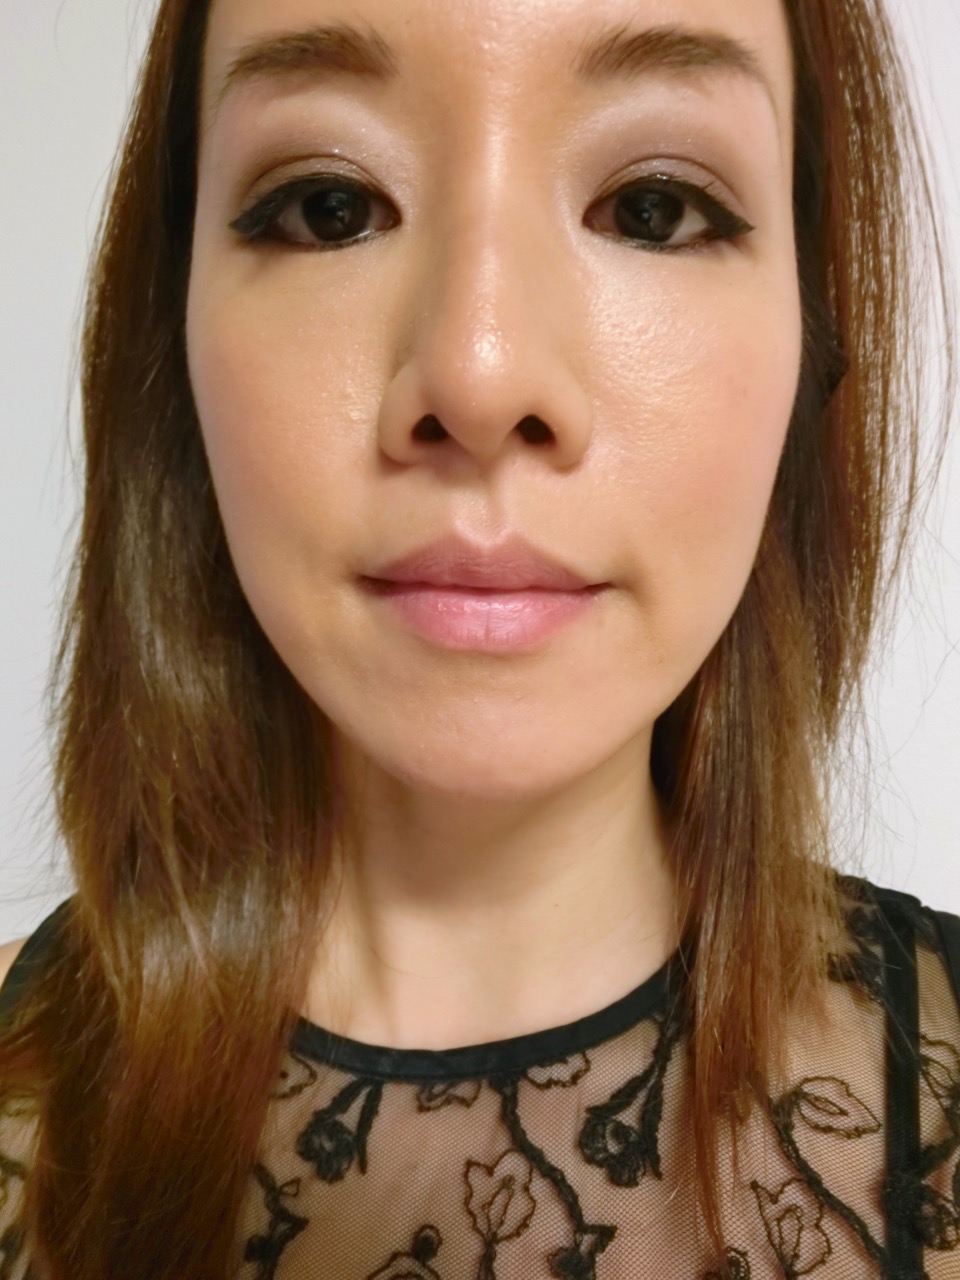
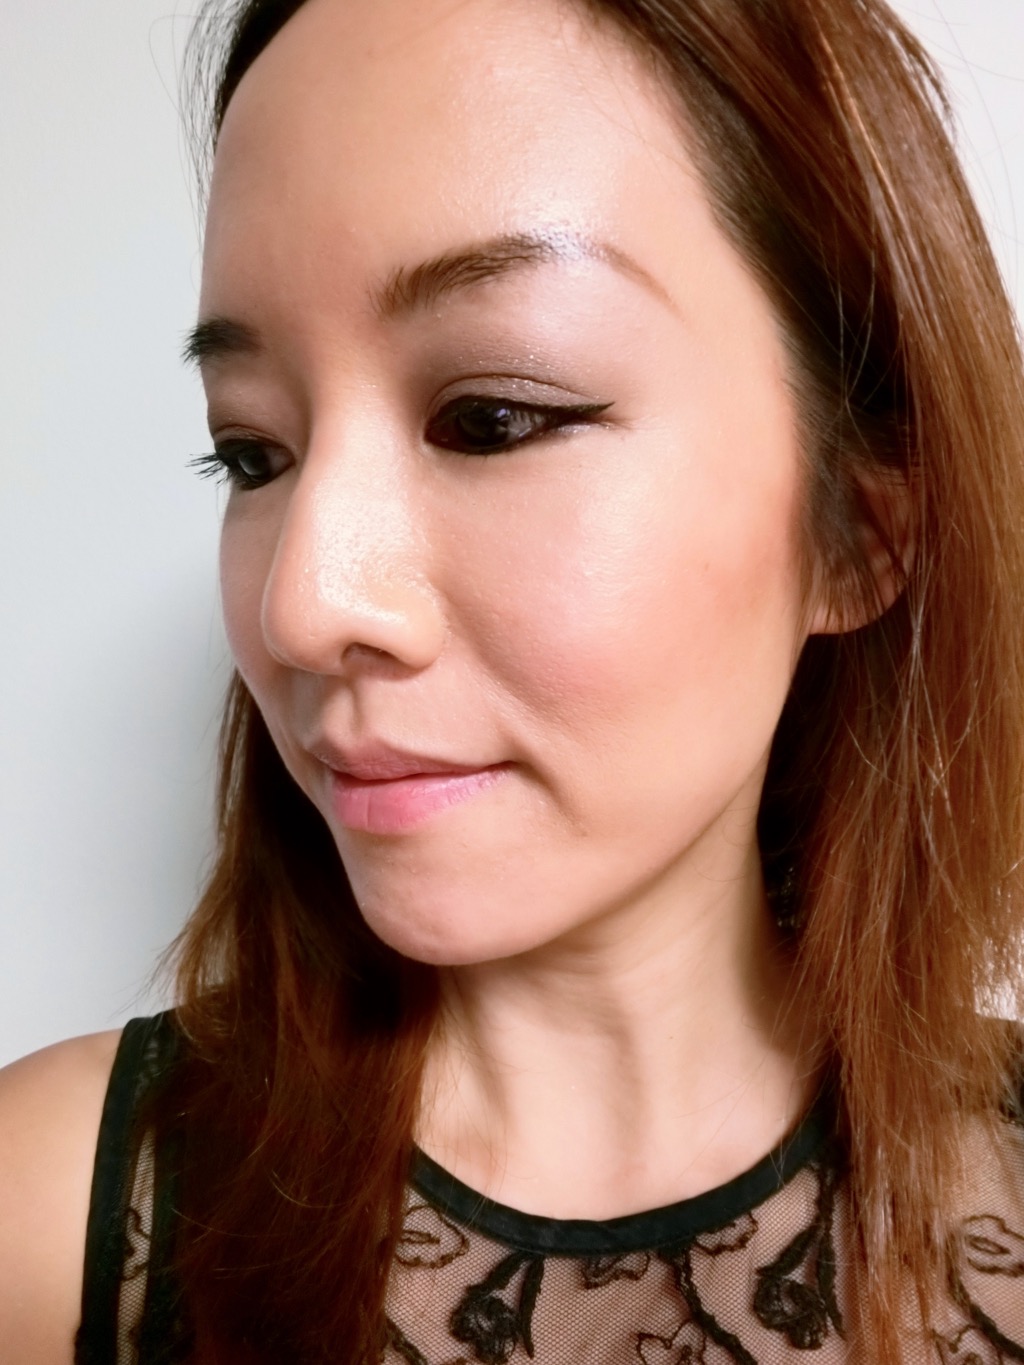
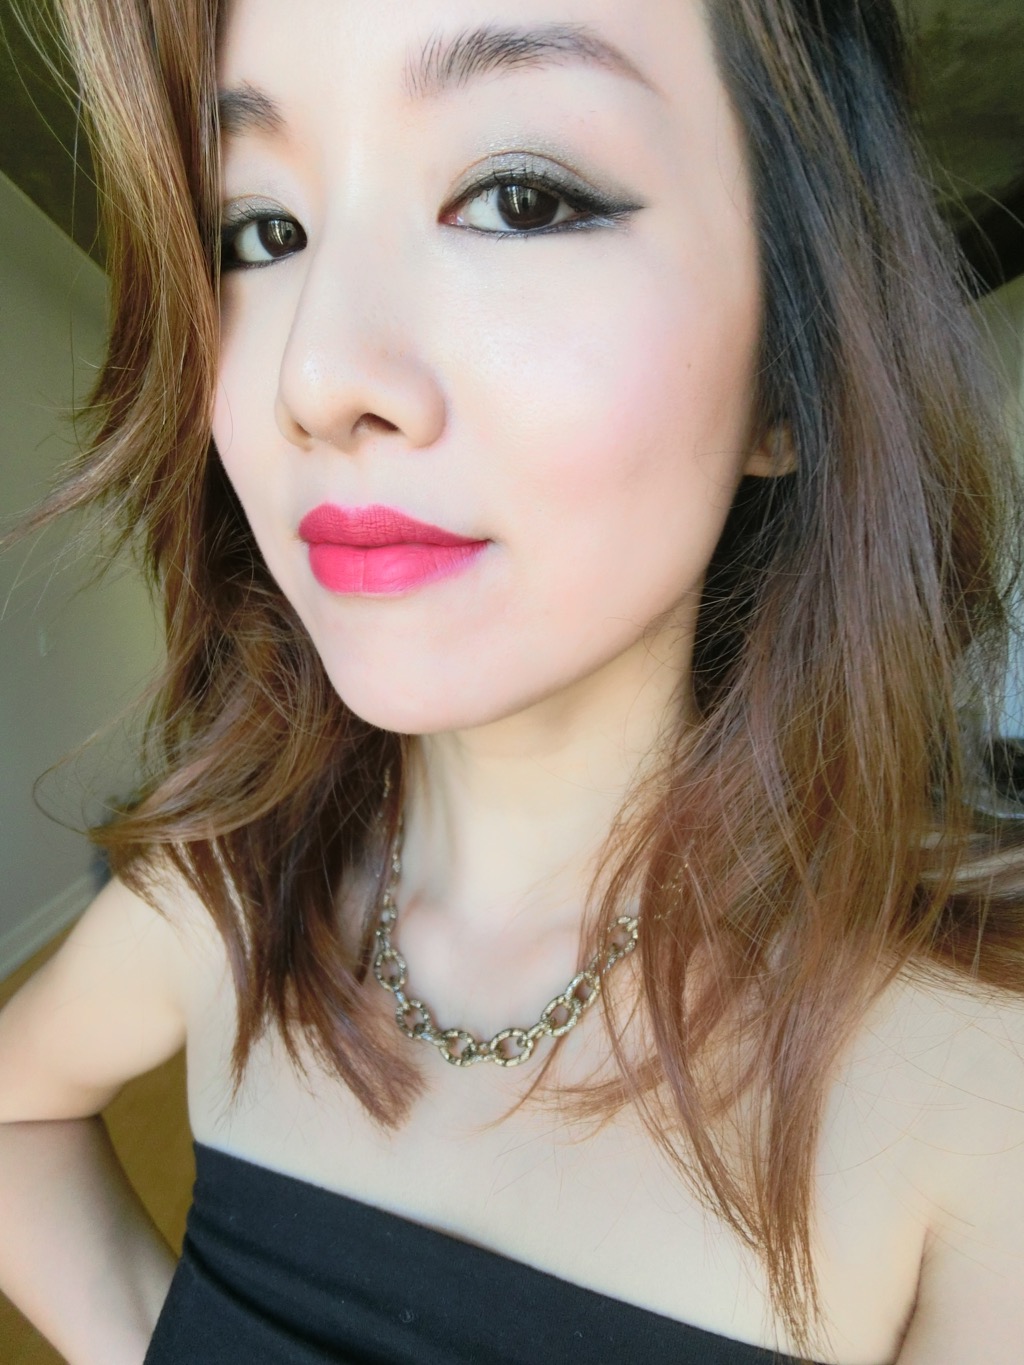
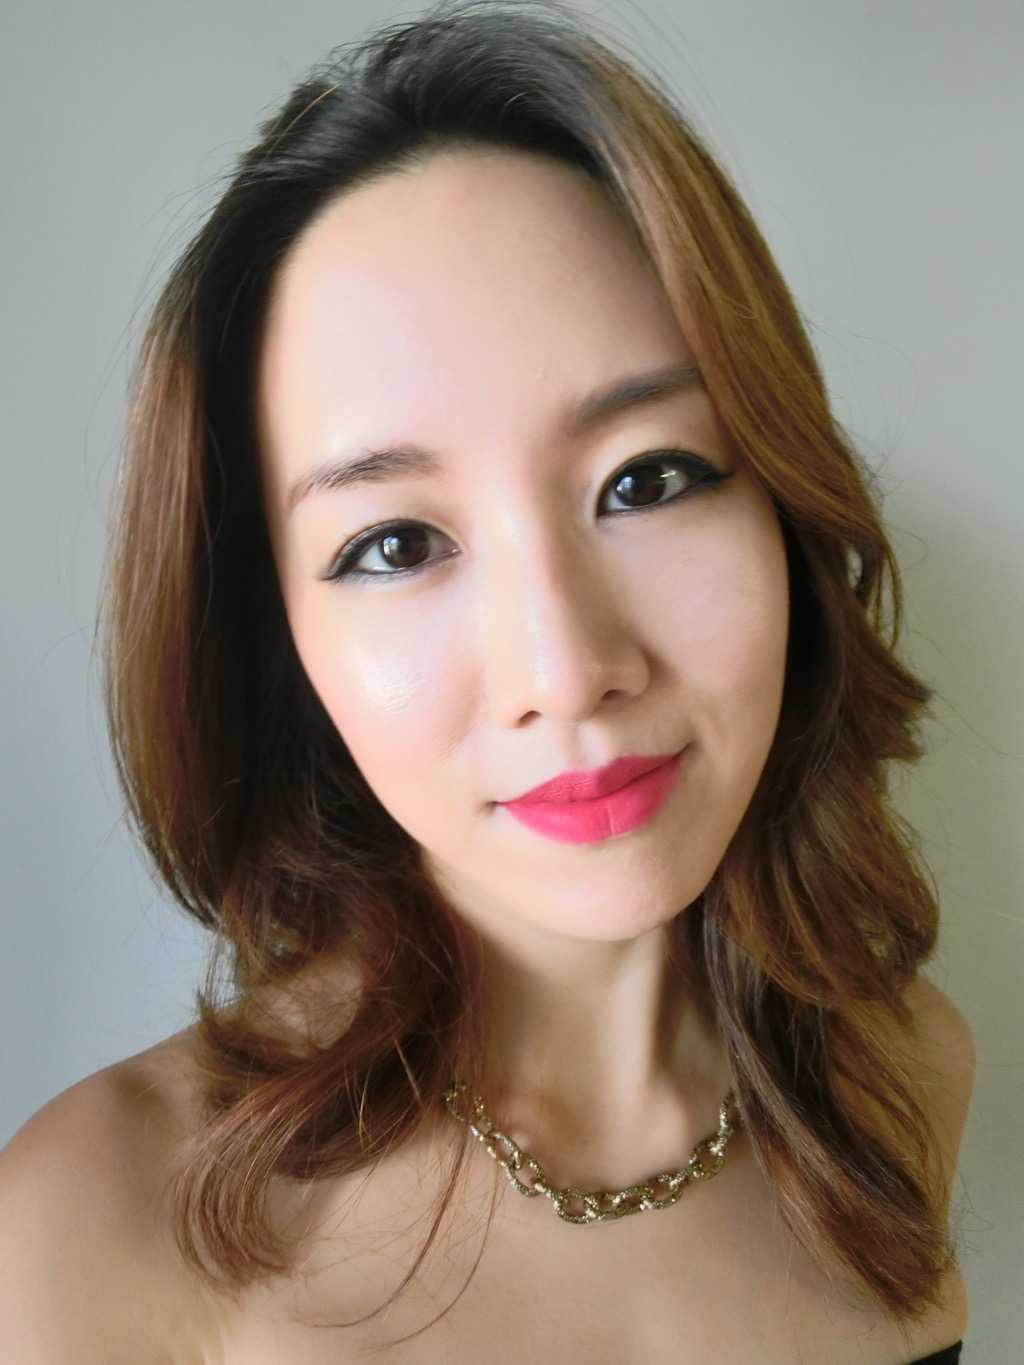
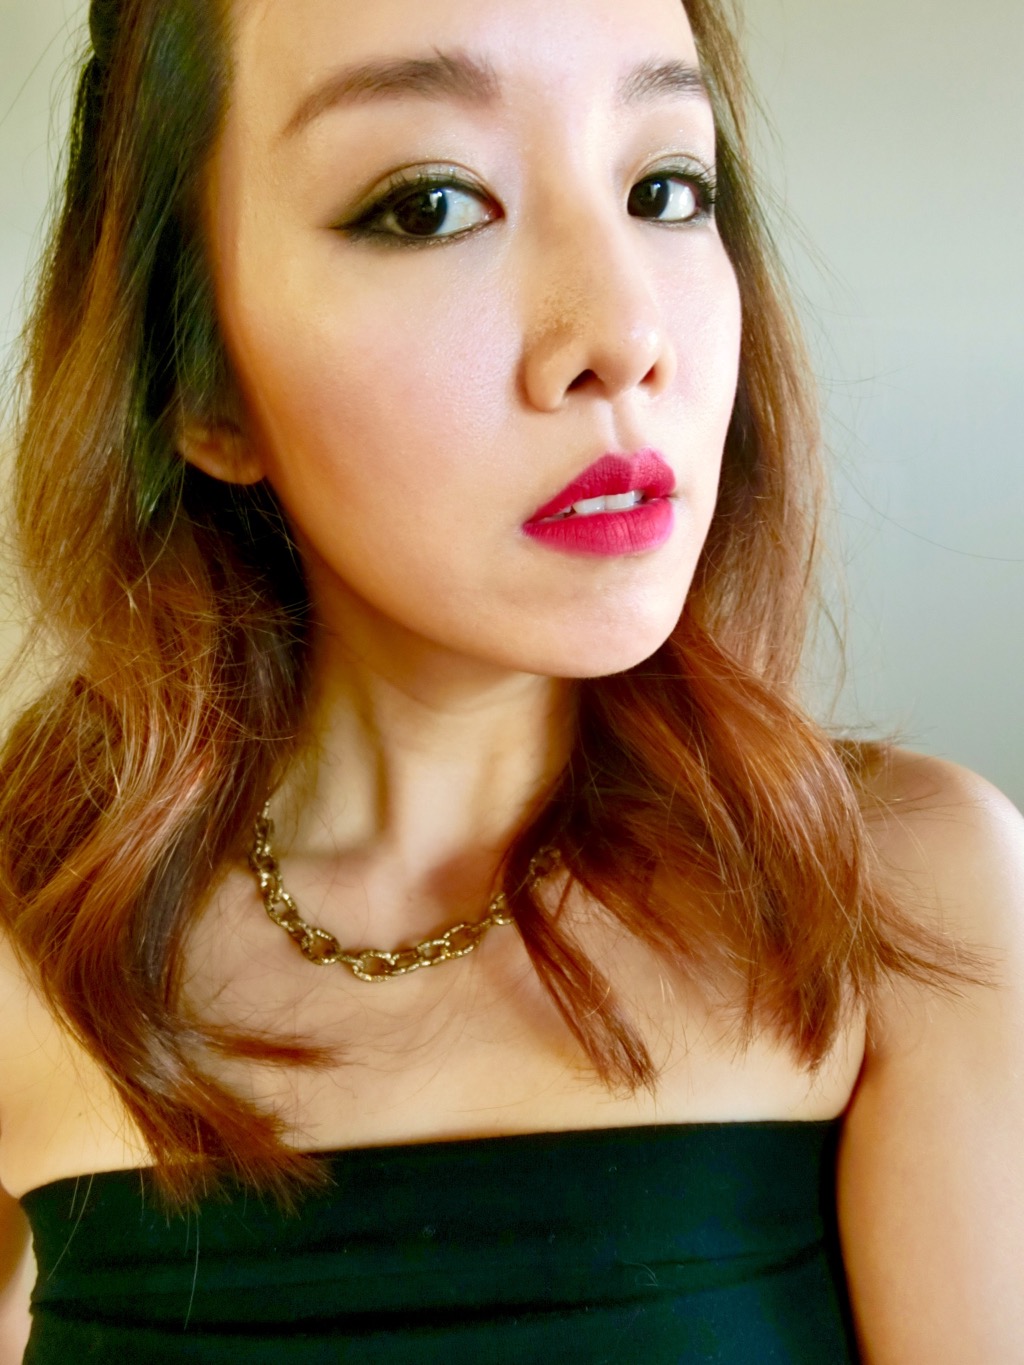
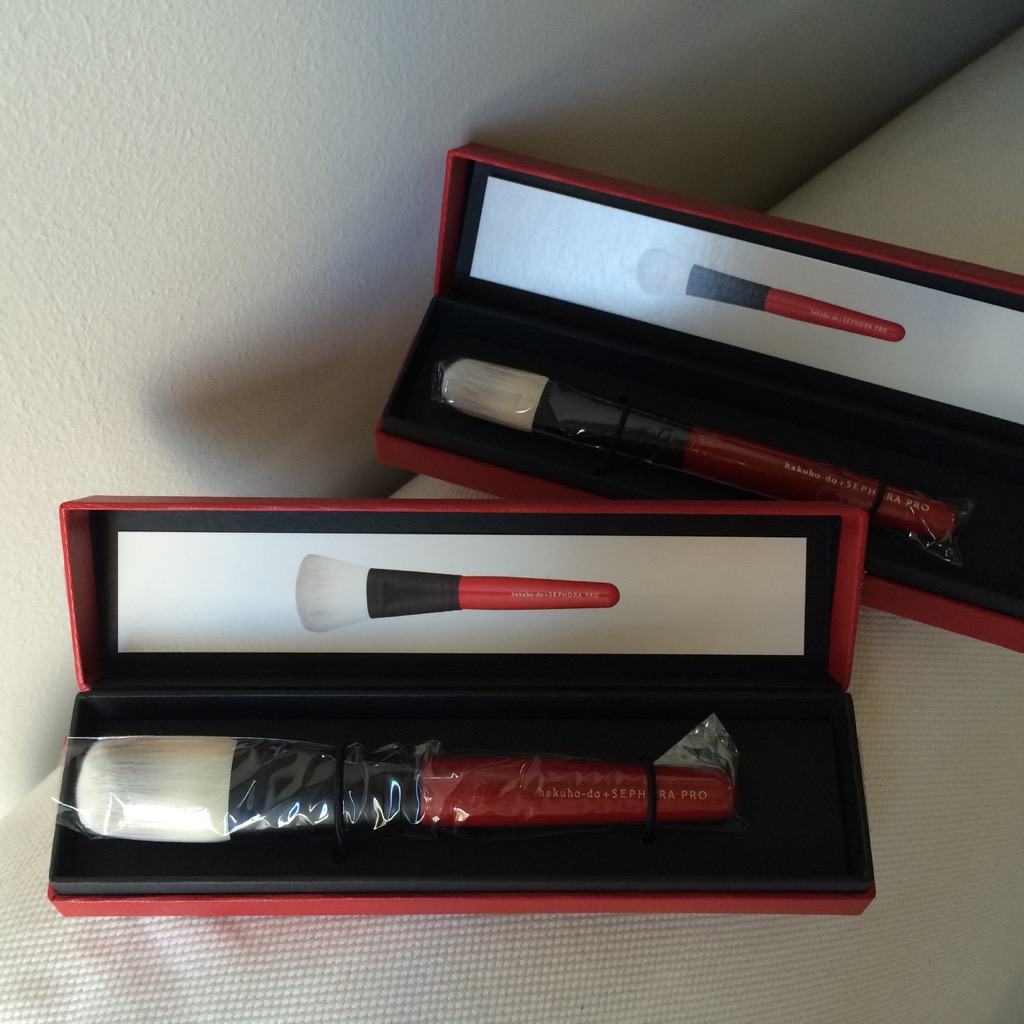
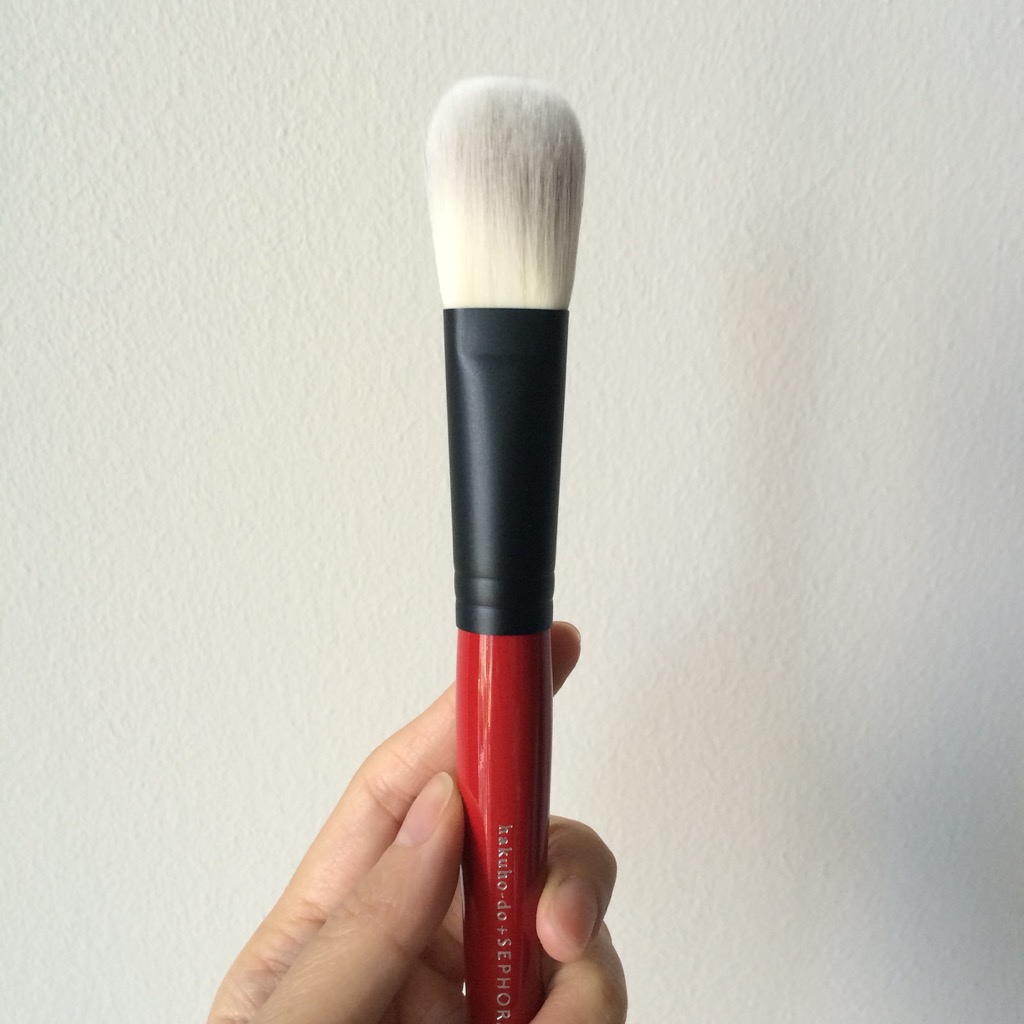
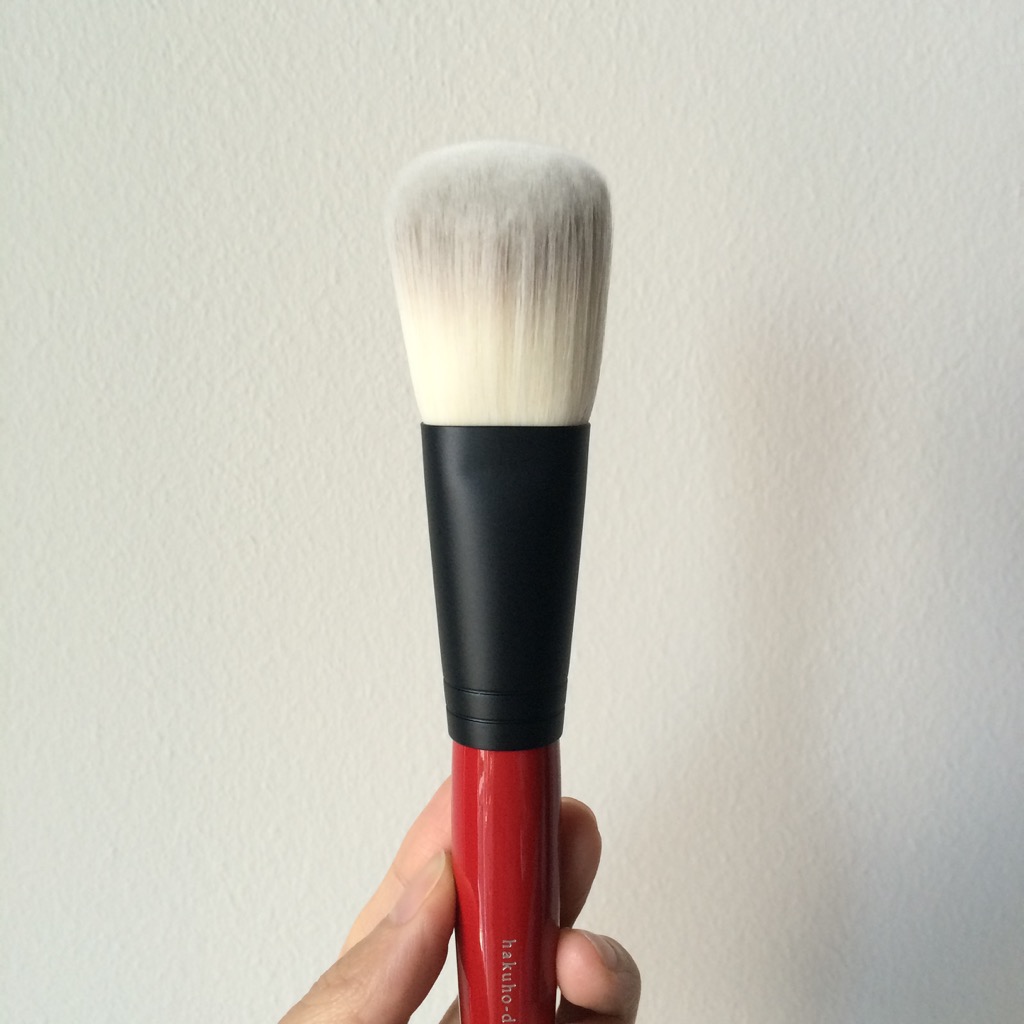
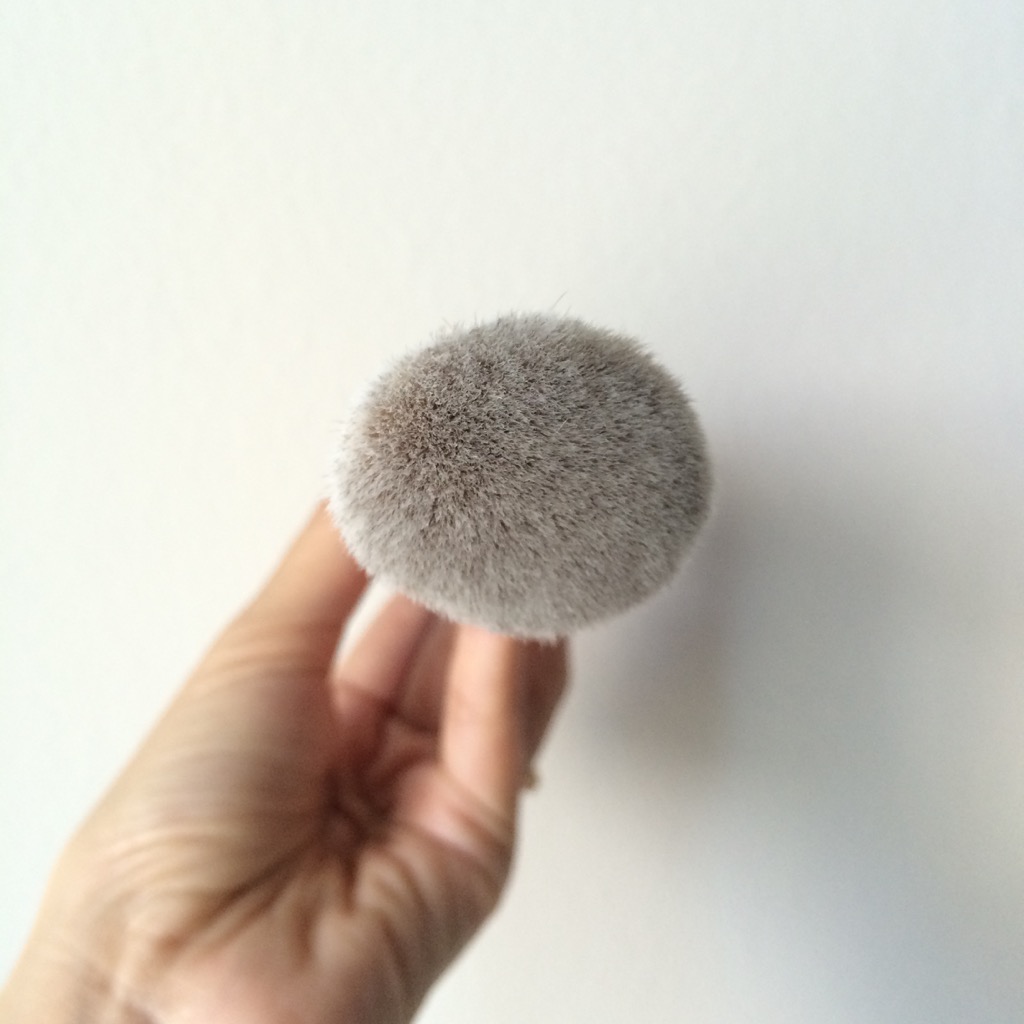
前情提要結束進入主題,大概是去年在店裡看到這組白鳳堂跟Sephora聯名出的刷具,當下很興奮啊!早就聽聞白鳳堂刷具有多威,但因為價格也滿威所以遲遲未入手,直到前陣子大盤點手邊刷具覺得好像可以來添個幾支,加上買一送一的活動覺得此時不買更待何時!這組刷具的定價本來就比白鳳堂自己的便宜應該是因為使用合成毛,我實際試用後覺的觸感跟彈性都相當好,刷在臉上非常舒服,效果也很不錯。

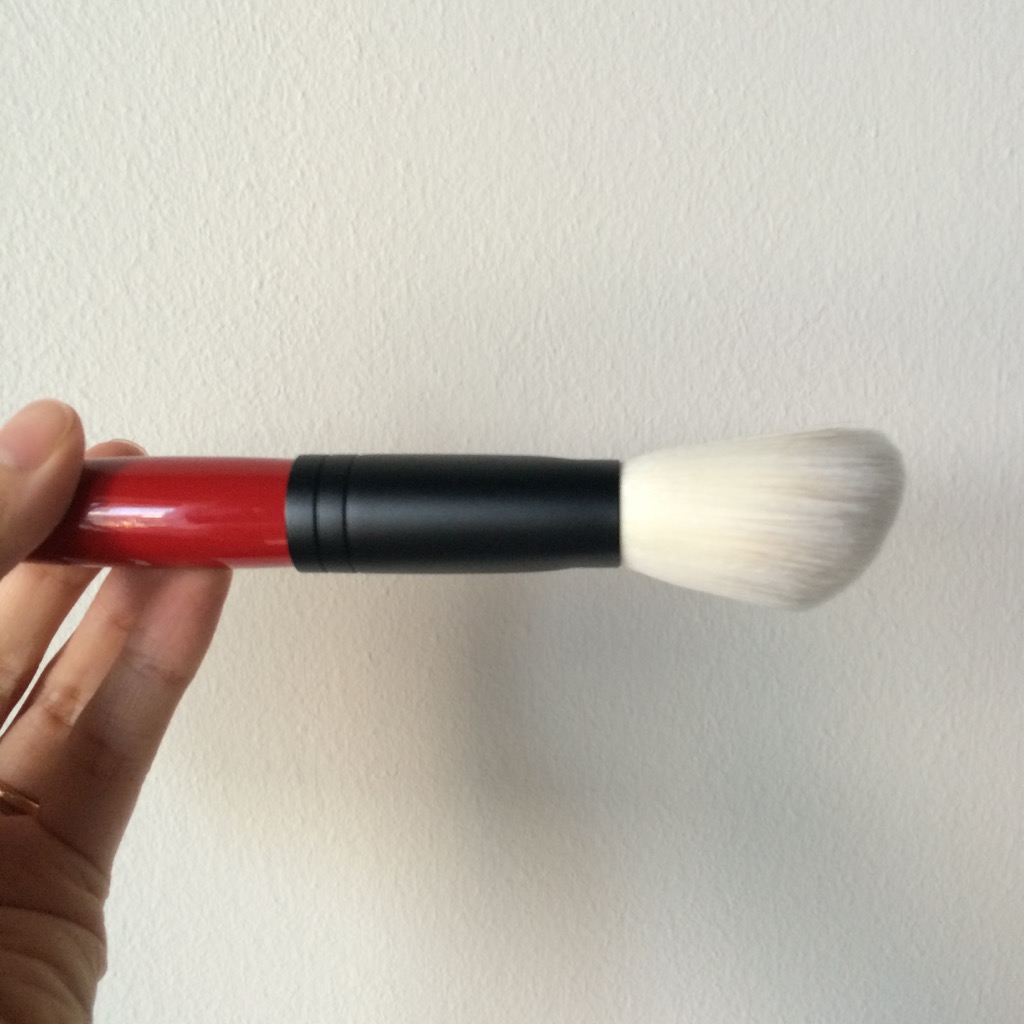
整組上市的時候共有5支,但現在買一送一已經買不到最小的那支遮瑕刷了(殘念)。

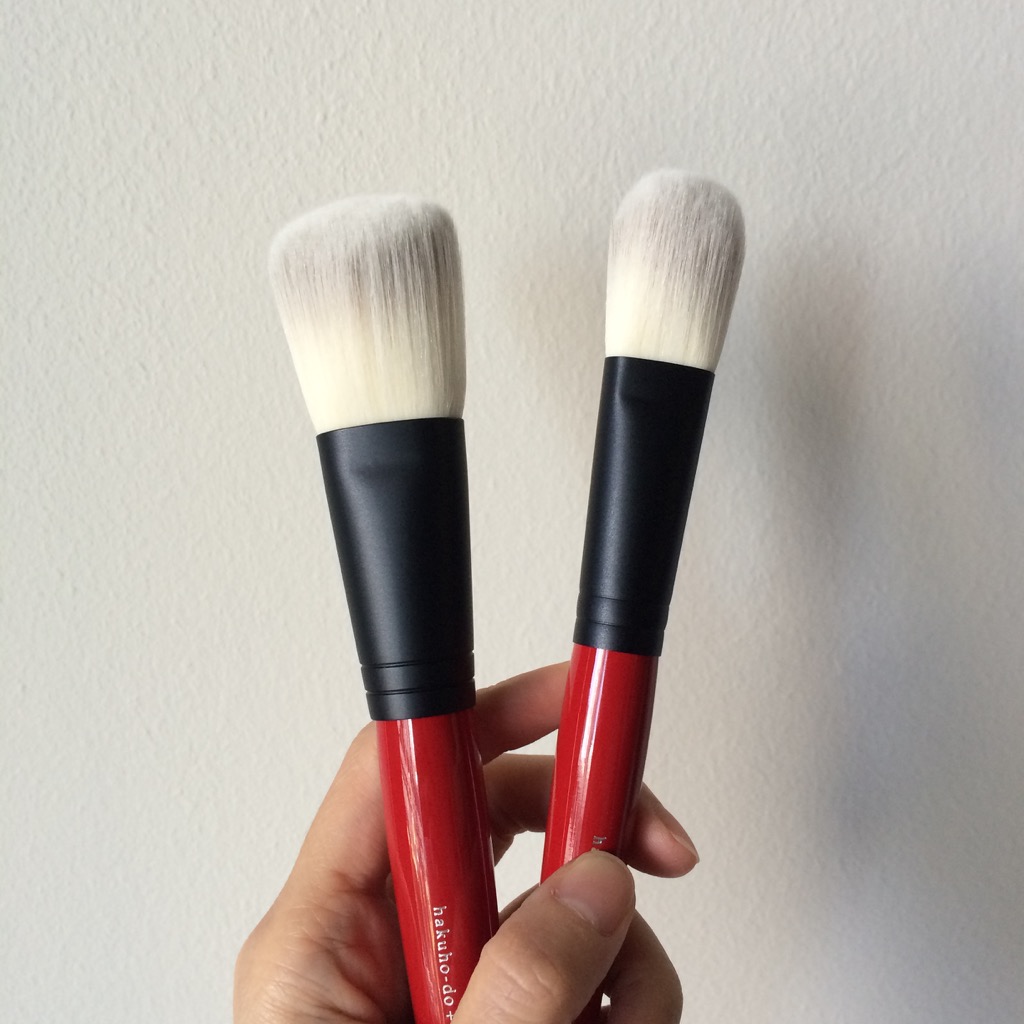
我買的是Wedge Sloping Powder Brush斜角大蜜粉/修容刷以及Fan Cheek Brush扇形腮紅刷這兩支。真的是質感很好的刷具,精緻的包裝盒我一直捨不得丟在想有什麼利用方法XD。兩支刷具的刷毛都很豐厚但鬆度又剛剛好,不會一下筆就一坨顏色刷不開。刷毛的形狀也讓上妝更有效率,沾取的化妝品一點不浪費!

刷具試用影片:

刷具使用小秘訣:

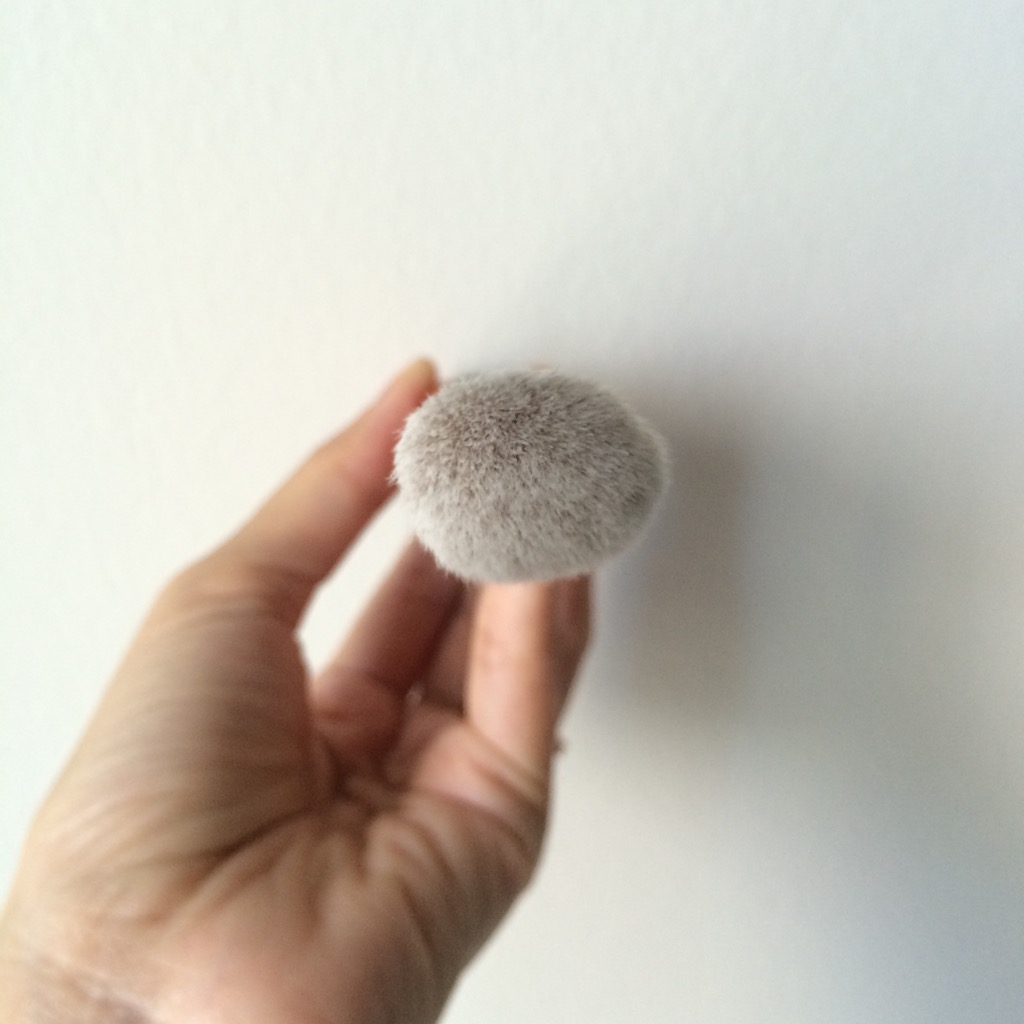
  • 將粉沾取在刷毛尖端接觸面上因為這就是會與皮膚接觸的位置。
  • 刷蜜粉或修容的時候要轉動刷具讓角度貼合臉部線條。
  • 日常清理可以將餘粉在面紙上刷乾淨,視使用程度定期使用刷具清潔劑或天然中性洗髮精清洗刷具。

修容與腮紅小秘訣:

  • 修腮從耳垂下筆,由重到輕,餘粉可向上修臉頰,一樣從臉外圍向內刷。
  • 掌握修容範圍不要修到水滴型打亮區才能創造立體感。
  • 修容和腮紅都要注意把邊緣的界線暈染開來才不會被發現有做手腳XD。


如果大家覺得分享的內容有幫助,在頁面左邊可以輸入email訂閱喔~謝謝大家~

Sephora Makeover Experience

託珊珊跟小愛的福,我的Sephora會員資格升級到VIB,也因此獲得一次免費體驗Sephora彩妝師全妝服務。因為西方化妝風格跟亞洲人非常不一樣,所以對於這次體驗滿期待的,很想看看自己會被化成什麼樣子~附帶一提,這個體驗總共約45分鐘所以需要事先預約,她們才能安排彩妝師一對一服務。

一坐下彩妝師就先問我有沒有做過他們的COLOR IQ測試,用儀器幫你找最適合的粉底顏色!每次經過都很好奇,終於有機會試看看!

Thanks to Sansan and Christine, my Sephora membership got promoted to VIB(Very Important Beauty Insider), so I received a free custom makeover! Since the style of a western makeup is very different than an Asian makeup, I was very curious about how I would be look like after the makeover. By the way, this custom makeover is a 45 mins service so you need to make a reservation before you go.

After I sat down, the beauty expert asked if I have tried their COLOR IQ test before. This is a technology that helps you to find the right foundation color.

She tested on three spots - forehead, cheek, and neck because it's pretty normal that we have uneven complexion color due to the curves of the face. Take myself for example, my forehead is always the darkest...

她一共測了三個地方,額頭、臉頰、頸部,因為通常每個位置的膚色多少會有點差異,像我的額頭永遠都是最黑的...

After the test, I received my COLOR IQ number and I can email myself the result right away for future reference. And then, enter the number into the computer, it will come up with all the foundation products that suit your skin color. Also you can find detailed product descriptions and reviews on the website! Power tool!

測好之後會獲得一組數字,輸入旁邊的電腦,就會找出各品牌適合我的粉底顏色。網站上每個商品都有很清楚的介紹以及使用評價。我還可以立刻把這測試結果email給我自己!好強大!

Then she asked about how I would like my makeup to be done, and since I was there for an experiment, I told her that I would like to try the latest Fall makeup.

She did my eyebrow and eyes before the foundation to avoid re-doing any foundation due to fallout. But I think I still prefer doing the foundation first... just a personal preference.

接著就詢問我今天想要畫什麼樣的妝,我既然是來做實驗的就讓她自由發揮,所以就跟她說我想試試最新秋妝,可以有一點煙燻。

她的順序是先畫眉毛、眼妝,再上粉底,之前就聽過這樣的順序比較不用擔心眼影粉掉落弄髒底妝,但我自己好像還是比較習慣先打底~

The first difference you'll notice is the eyebrow shape! Western style eyebrows are more arched than the Asian(Korean) style. The width is about the same as your natural eyebrow because western girls are not troubled by not having enough eyebrow hair but too bushy...

東西方妝容的差異從眉毛就立刻看得出來!相較於目前亞洲流行的(韓風)平眉,西方眉型一般來說角度比較明顯,寬度大致上就照每個人自己自然眉的寬度,因為他們比較沒有亞洲人眉毛稀疏的狀況,通常是困擾毛太多XD。


Product List

Face 底妝
Laura Mercier Foundation Primer - Hydrating
Hourglass Illusion® Hyaluronic Skin Tint
Nars Radiant Creamy Concealer

Eyebrow 眉妝
Anastasia Beverly Hills Brow Powder Duo
Anastasia Beverly Hills DIPBROW™ Pomade

Eye 眼妝
Urban Decay Naked Smokey
Kat Von D Ink Liner
Marc Jacobs Beauty Highliner Gel Eye Crayon
Benefit Cosmetics Roller Lash Curling & Lifting Mascara


The Hourglass foundation I tried has a subtle glow which I do like, but maybe because of the moisturizer or the primer she put on wasn't completely absorbed, the foundation didn't look like buffed into my pores... So what happened was it went off right away after a slight touch... which is not cool. I think there's only a fine line between a "glowing effect" and an "oily skin"... so make sure to try out different products to find the best combination for your skin type.

這次試用的Hourglass粉底妝效是有光澤感的那種我滿喜歡,但或許因為櫃姐妝前保濕產品還沒完全吸收就上粉底?又或是粉底粒子不夠細?所以化完後好像一直停在皮膚表面吃不進去,手指一碰就落漆好尷尬...然後光澤感跟油膩感真的只有一線之隔...還是要多方嘗試適合自己膚質的產品組合才能達到最好的效果。

這個妝我自己比較不喜歡的地方是眼睛看起來有點泡,應該是因為她用有亮粉的眼影打眼窩,所以看起來腫腫的...或許對於五官深邃的歪果人這不是一個問題,但用在沒那麼深邃的眼睛上就減分了。

The only part I didn't really like was that my eyes looked puffy... this is probably because she used a shimmery eye shadow for the contour making my eyelids look bloated. 

The cheek contour looks more obvious in the photos I took at home under the indoor lighting. Also I think cheek contouring is being more emphasized these days because I noticed that almost every brand has it's own contouring products. 

By the way I was surprised to see a collaboration between Sephora and Hakuho-do (a famous Japanese brand for makeup brushes), but since I've never used a Hakuho-do brush before, I couldn't tell if there's any difference... just got excited when I saw them.

回到家之後在室內燈光下拍起來修容的部分比較寫實,因為本人看起來修容超重的,這也是西方妝容的特色之一。尤其最近各家彩妝都紛紛推出修容產品,似乎是一股潮流來著~

附帶一提,Sephora跟日本白鳳堂合出一系列刷具ㄟ!但我沒用過日本白鳳堂的刷具所以無從比較起...只是看到時有點興奮這樣。

IMG_9135.jpg

Since I got inspired by this Sephora makeover experience, I tried to put on a Western+Asian look at home a few days ago, and here's the result...

基於有學就要練的原則,前幾天在家決定練習一下,來畫個跟平常比較不一樣的妝,合併一些西方技巧,看看自己會變怎樣...

Thank you for reading my blog! This is my first article sharing about makeup, hope you find something interesting or helpful! 

謝謝收看~這是我的第一篇彩妝文,希望分享的內容對大家有點幫助囉~